Trendsters.pk
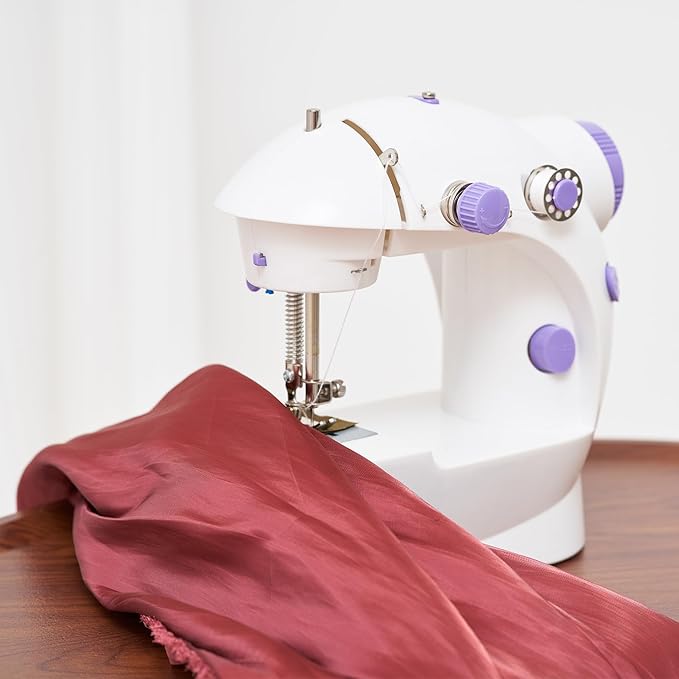
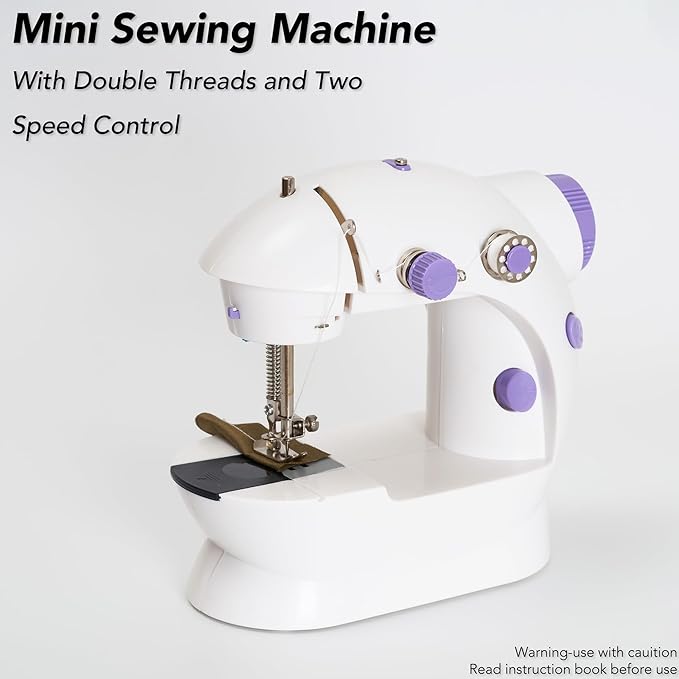
Mini Electric Sewing Machine
Mini Electric Sewing Machine
Couldn't load pickup availability
Compact But Powerful Your Perfect Mini Electric Sewing Machine for Home Stitching, Repairs & DIY Projects

Compact & Lightweight Design
The machine is small and light, making it easy to carry and store. It’s ideal for people with limited space or those who travel. Despite its size, it performs efficiently for basic sewing needs.

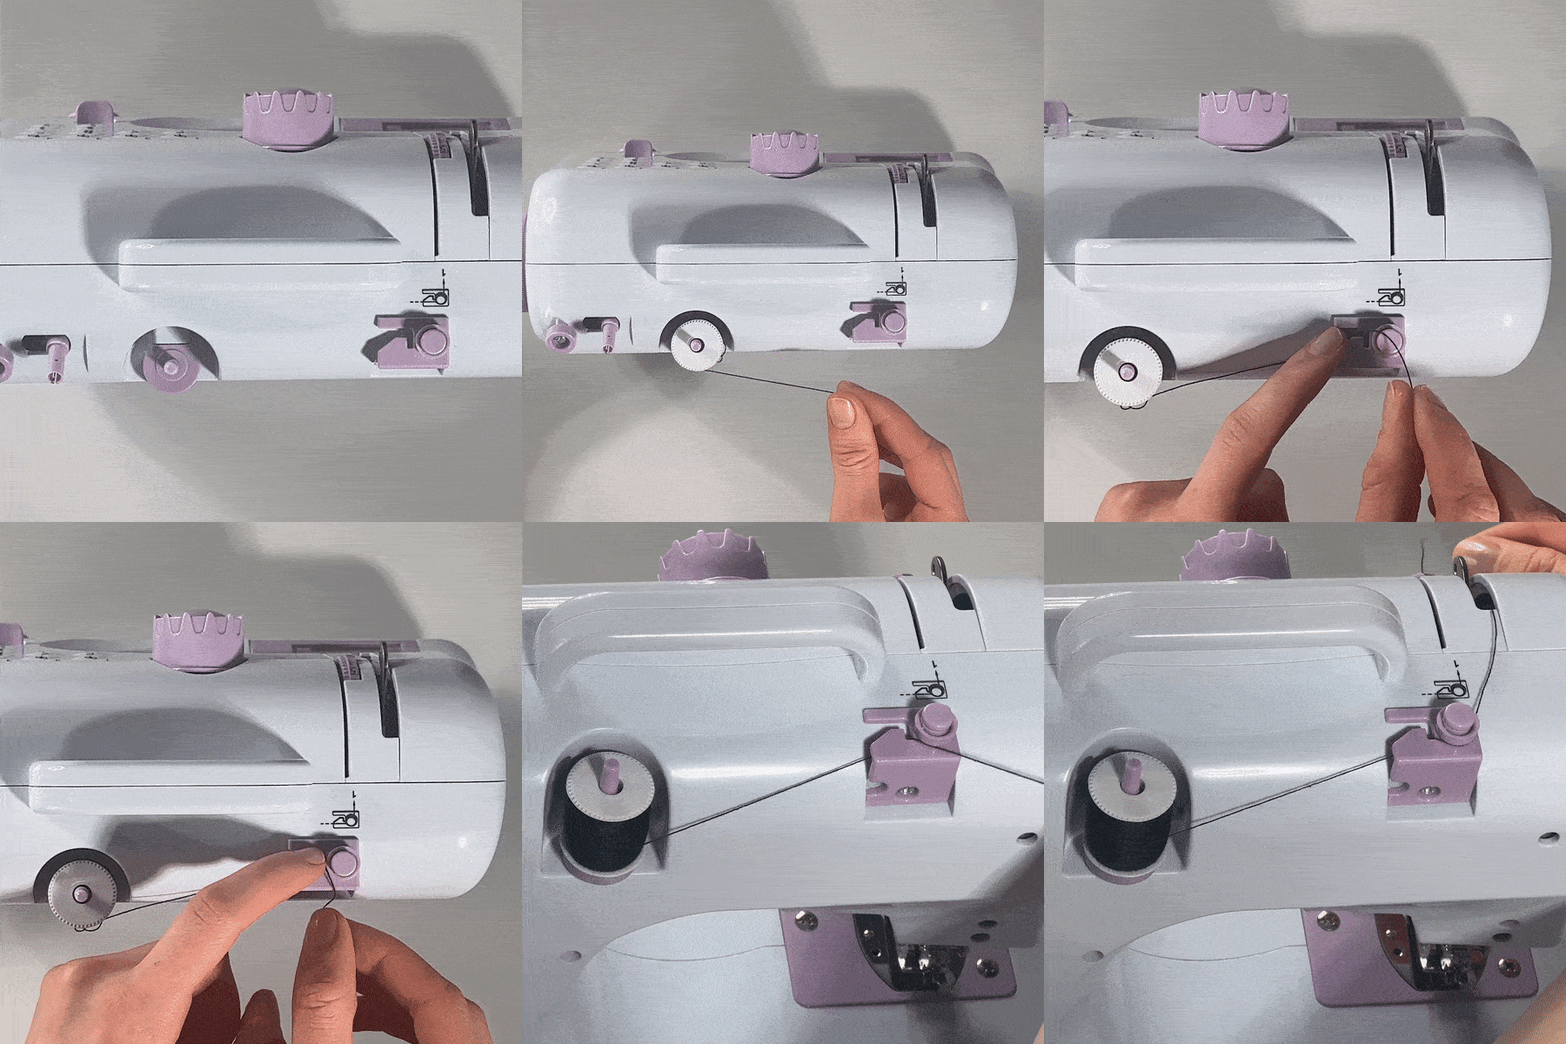
Automatic Bobbin Rewinding
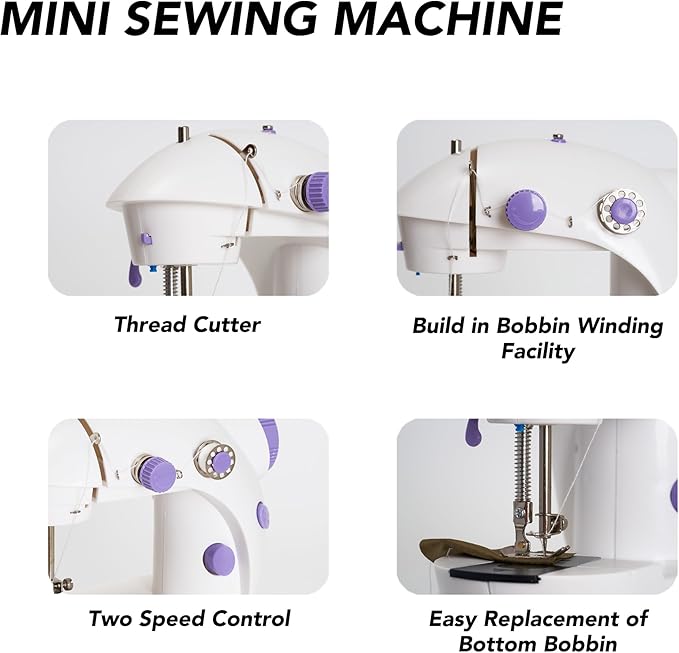
The machine can automatically rewind the bobbin, saving time and effort. Just set it up and it takes care of the rest. This makes the sewing process smoother and more efficient.

Beginner-Friendly for DIY Projects
This machine is perfect for beginners or those who love doing simple DIY sewing tasks at home. Easy controls and basic features make it a user-friendly option to start sewing.

Thread Cutter Attachment
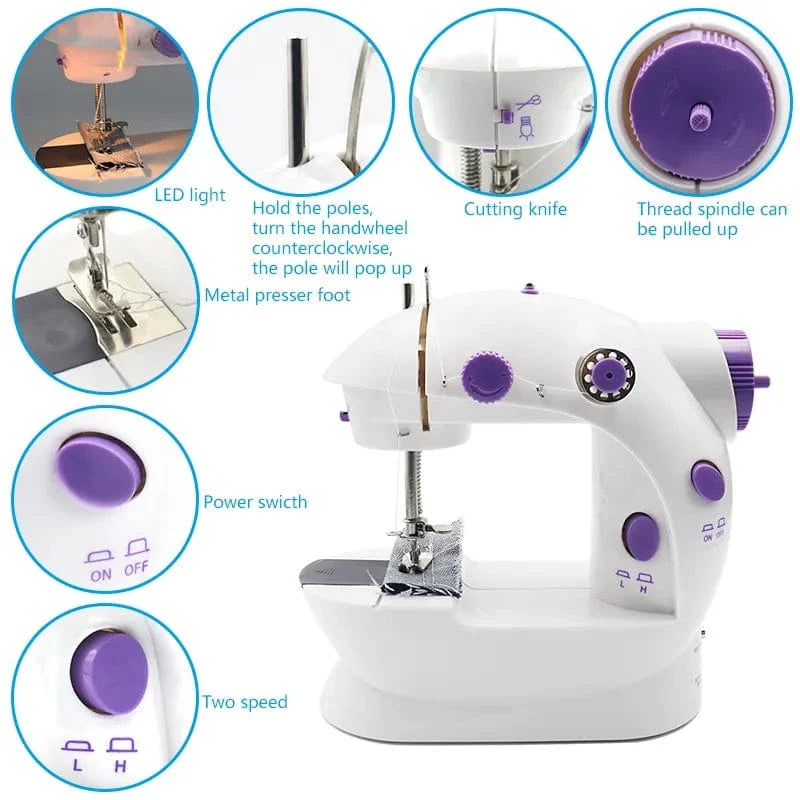
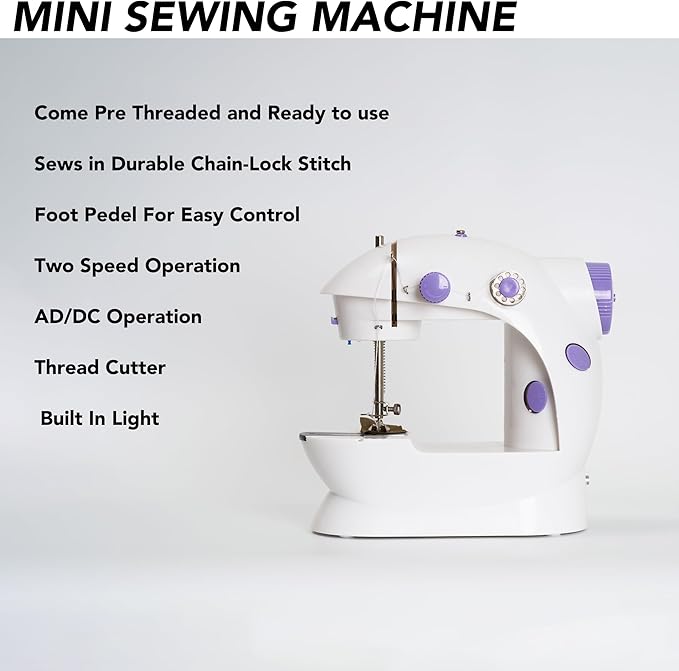
It comes with a built-in thread cutter, so you don’t need scissors. You can quickly cut the thread after sewing. This saves time and adds convenience to your work.
Double Thread Stitching
It uses double thread for stronger and more durable stitches. This feature ensures that the fabric stays stitched for a long time. Great for making long-lasting repairs or new projects.

Hand Switch Control
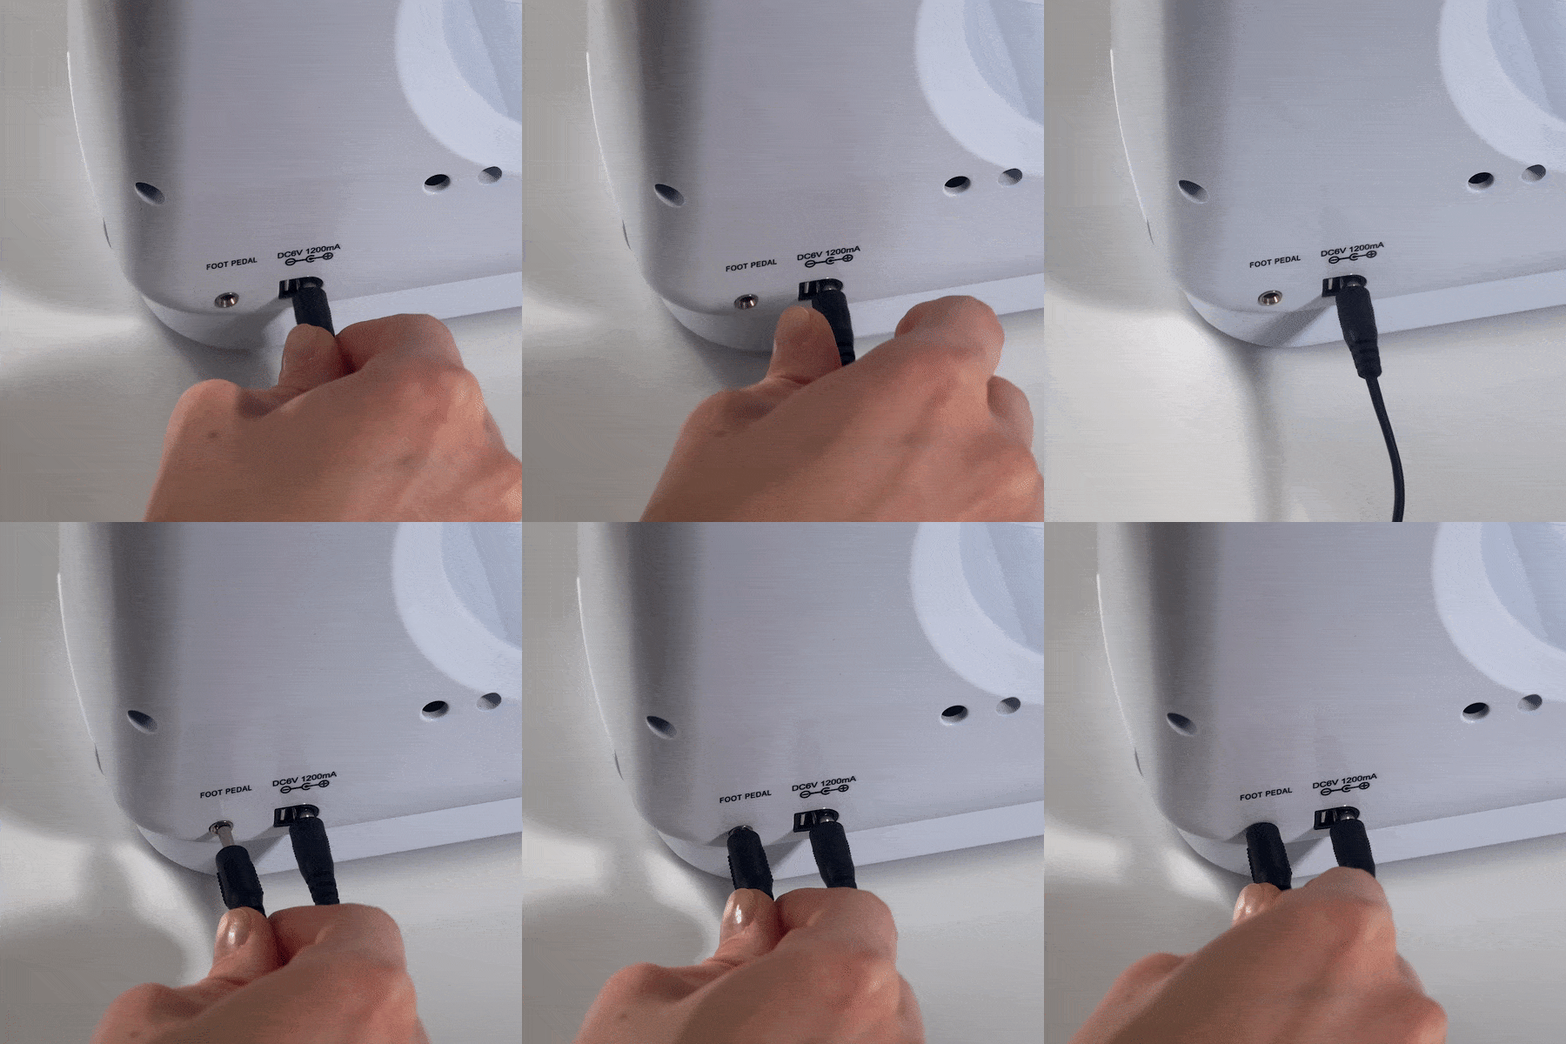
You can operate the machine with either the or the hand switch. Choose the control method that feels most comfortable. It gives you better flexibility during sewing.

Quick Setup
It takes only a few minutes to set up the machine and start sewing. Ideal for quick fixes or last-minute stitching. Saves you time and hassle.
Attractive & Stylish Look
Besides being functional, the machine has a modern and cute design. It looks good on your desk or table. Makes a great gift for sewing lovers too.

User-Friendly Design
The machine is designed with simplicity in mind. Even if you have never used a sewing machine before, you can easily understand how to operate it. Perfect for beginners and casual users.

Specifications
Product Type: Portable Electric Sewing Machine
Material: High-quality ABS plastic and metal components
Power Source:
6V Power Adapter (included with most models)
4 x AA Batteries (not included)
Speed Modes: Dual Speed (High & Low)
Stitch Type: Straight Line Stitch
Thread Type: Double Thread & Double Speed
Control Method: Hand switch or Foot pedal (both options)
Built-in Light: Yes, LED light for better visibility
Thread Cutter: Yes, integrated cutter for quick trimming
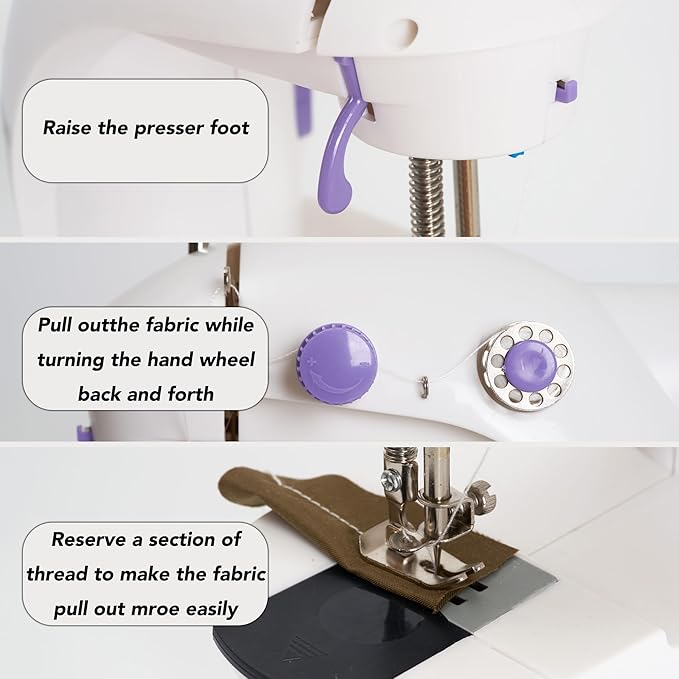
Bobbin System: Automatic bobbin rewinding
Max Stitching Thickness: Up to 2–3 layers of light to medium fabric (like cotton or denim)
Dimensions (Approx): 18cm (L) x 12cm (W) x 10cm (H)
Weight: Around 700g to 1kg (depends on model)
Noise Level: Low-noise operation
Ideal For: Beginners, kids learning to sew, DIY home use, small repairs
Package Include:
Share
